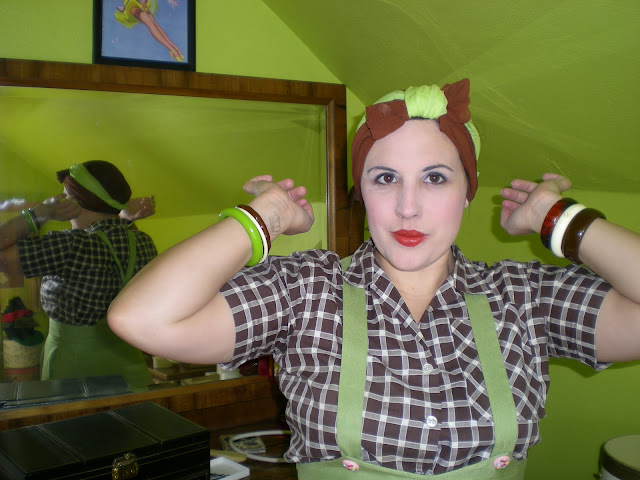
Okay, bear with me. This is my first ever tutorial, and I had Jesse taking the photos. I'm not entirely sure that he knew what he was supposed to be doing, so some shots have "artistic" angles. Also, my chartreuse bedroom makes for some interesting feedback with the cheap camera. First, for basic turbans, Solanah has already done a really great tutorial on her blog, you can find it here.
I figured I had to name this, because I do a number of different
turban styles, and want to make sure they're easy to keep straight. So
this is the Two-Tone Bowtie Turban. It's a relatively low-profile "cute"
turban. You will need:
1 Oblong Scarf, a minimum of 42" inches long. I prefer about 50". Should be at least 14" wide.
1 Oblong Scarf, a minimum 35" long. Any width.
4-6 Bobby pins
1. After putting your hair up, drape Scarf #1 over your head,just a little bit back from the hairline.
2. Secure the scarf at each side of the head with a bobby pin.
3. Take the ends of the scarf, and pull them behind your head, then cross them over. You may need to tuck in the center of the scarf for a smoother look. This feels a bit trickier than it really is.
4. Bring the scarf up and around the sides of the head, and make the first half of a knot. Using silk chiffon, this won't slip much. Chiffons and crepes are easiest to work with.
5. Take scarf #2, and thread it under Scarf #1. The sides should be about even, the front can be a bit longer.
6. Make a somewhat loose square knot, by taking the front part of Scarf #2 over and then under the back part. Cinch down the knot somewhat. Not so tight you won't be able undo it later!
7. Take the ends of Scarf #2 around back, and twist them for a snug fit.
8. Take the leftover ends, and tuck them under the lower bit of Scarf #1 that comes up along the sides of the head.
9. It can take a bit of perfecting to make a smooth finish.
10. Now, take the loose ends of Scarf #1, and tuck them into the center knot created by Scarf #2. I like to use a scarf a little longer than this brown one, for a more dramatic bow.
11. You're finished! Guaranteed compliments on this one.
12. Finished back view. If you feel any looseness at the back, use a couple bobbies to secure.
I also really like doing this with a solid scarf as scarf #1, and a printed scarf for #2. You can also use square scarfs folded into a more oblong shape, along the diagonal for scarf #2, but it is a little harder. With experience, you can almost always use either oblong or square for any piece of a turban, but oblong really does make this style easier! Here are links to a few I like on Etsy right now.
Variety of colors in one listing.
Red 42" scarf
Orange 42" scarf
Now, the rest of the photos are just plain silly. This plastic petting zoo went in two days ago, on a little island of grass in the middle of a busy intersection near our grocery store. We just couldn't resist. We'll get close-ups with the sheep some other day.


Good to know, Sweet Adventure. :)
ReplyDeleteLove the outfit colours, but most of all I adore your gorgeous green bedroom!
ReplyDeleteAh thankyou so much :D Im gonna try a turban for school tommorow !
ReplyDeletegeorgia
XXXX